Angry Birds Tower Defense Red — Single-Target DPS
Your starter bird tower. Focus pigs along the path for 150 Gold and learn range discipline early.
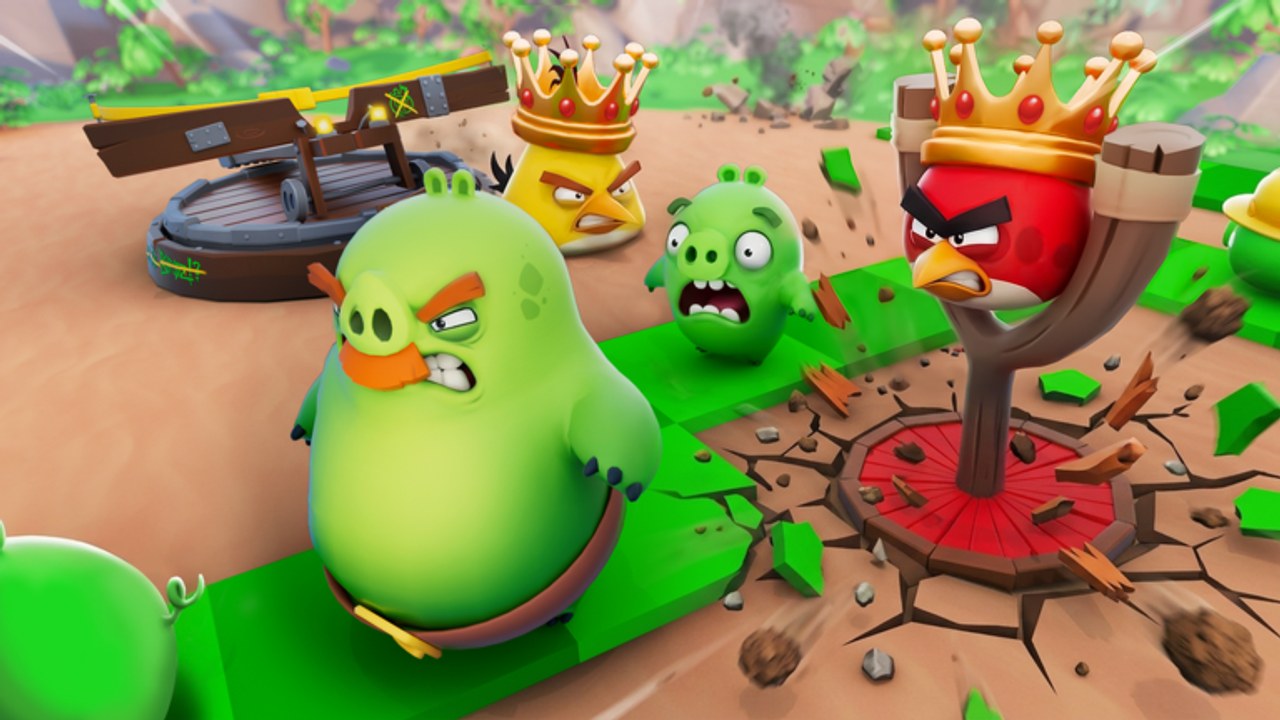
Red is the signature single-target DPS bird tower in Angry Birds Tower Defense on Roblox and the unit every new player places first. Official feature lists call him out as Single-Target DPS, beginner guides confirm he sits in the starting loadout, and placing him costs 150 Gold. That price is meaningful on early South Beach waves—after the purchase you may have almost no Gold left—so every Red you drop must earn his keep through long path coverage, not vanity placement.
This page covers Red’s role, when to place him, placement tips, synergies with Chuck, Bomb, Terence, and Stella, plus early versus late value. Pair it with the Players Hub, Getting Started, and How to Play if you still need HUD and Gold basics. For rankings, see the Bird Towers Tier List and Early Loadouts.
Role: Single-Target DPS
Red focuses one pig at a time. He shines when enemies walk a predictable stretch and you need reliable damage on the lead pig or on a tankier body that would otherwise soak splash poorly. He is not a clump clearer—that is Bomb’s job—and he is not a boss specialist on the scale of Terence, but he is the backbone that keeps early waves from snowballing while you unlock pierce, splash, and control.
Single-target DPS rewards time on target. The longer a pig stays inside Red’s range circle, the more shots he lands before the next enemy enters. Short diagonal cuts across his radius waste Gold; long parallels and outer bends multiply value.
When to place Red
Place Red as soon as you can afford 150 Gold and have identified a high-coverage tile beside the path. On the first waves of a chapter, he is usually your opening tower. Do not wait for perfect economy if pigs are already leaking—leaks cost Health, and Health is harder to recover than Gold. Conversely, do not panic-place into a dead corner just because the card is selected. Check the green arrows that show pig travel direction, preview the range circle, and commit only when the circle hugs a long segment.
In mid-match, place additional Reds when you need more focus fire on a lane that Chuck pierce is not fully covering, or when a mini-boss style pig needs dedicated attention before Terence is available. In late waves, Red still fills gaps: he is cheap relative to letting a fast pig escape past splash zones that are busy elsewhere.
Skip redundant Reds if your Gold is one Bomb or Stella away from fixing a clump or stall problem. Role diversity beats a wall of identical DPS when the path geometry changes.
Placement tips
- Follow the green arrows. They mark Minion Pig travel direction. Sit Red beside the longest visible straight or sweeping bend those arrows describe.
- Preview the range circle before confirming. If most of the circle sits on empty sand instead of track, rotate to a better tile.
- Respect the 150 Gold spike. Early beach stages can leave you with roughly ten Gold after placing Red. Plan the next earn cycle before you click.
- Avoid nesting multiple Reds on the same short segment. Overlap that does not add new path length is wasted DPS.
- Leave room for support. Stella knockback near Red’s kill zone can hold pigs inside his circle longer—place with that combo in mind once Stella is unlocked.
- Watch UNITS ALIVE. If the counter climbs while Red is your only tower, you need another body or a different role, not a prettier Red angle.
Detailed economy and HUD habits live in How to Play. Merge timing that upgrades Red without moving him off a strong tile is covered in Merge and Upgrade.
Synergies with other birds
- Chuck: Pierce cleans columns; Red deletes priority targets that survive the pierce line. Place Chuck on dense straights and Red on the exit of that straight so wounded pigs finish under focus fire.
- Bomb: Splash softens clumps; Red executes survivors. After Bomb detonates a pack, Red’s single-target finishing prevents half-health pigs from leaking.
- Terence: Terence owns true bosses; Red handles the escort trash so Terence is not distracted. In co-op, one player can main Terence while another keeps Red coverage online.
- Stella: Knockback and stall are Red’s best friends. Pigs shoved backward spend more time in Red’s radius, converting Stella’s control into raw damage uptime.
Across the wider Angryverse roster of 60+ characters, treat Red as the reference single-target profile. New unlocks that advertise focused DPS should be compared against how well your current Red placements already cover the map before you rebuild an entire loadout.
Early versus late value
Early: Extremely high. Red is the starter, the 150 Gold tutorial tax, and the tower that teaches range discipline. Early Loadouts almost always include him because nothing else is available or affordable with the same reliability.
Mid: Still strong as a focus piece while Chuck and Bomb come online. Your job shifts from “only Red” to “Red plus complementary roles.”
Late: Situational but never useless. Boss-heavy finales lean on Terence; dense swarms lean on Bomb and Chuck; Red remains the scalpel for stragglers and priority pigs. Merged and upgraded Reds keep pace if you invested through Merge and Upgrade instead of abandoning him the moment a flashier bird unlocked.
Co-op notes
In multiplayer, announce when you are spending the first 150 Gold so teammates do not all drop opening Reds on the same bend. Cover different path segments. If a teammate already saturates single-target on the entrance, take Chuck, Bomb, or Stella instead. Synergy wins co-op more than four copies of the same starter fantasy.
Related links
Return to the Players Hub for the full roster map. Sibling guides: Chuck, Bomb, Terence, Stella. Strategy: Getting Started, How to Play, Merge and Upgrade, Co-op, South Beach. Meta: Bird Towers Tier List, Early Loadouts. Rewards and patch context: Codes, Launch Updates.
Red is simple on purpose. Master his 150 Gold placement and range reading, then every other bird tower on this wiki becomes easier to evaluate.
Frequently Asked Questions
Quick answers for Angry Birds Tower Defense on Roblox.
How much Gold does Red cost to place?
Placing Red costs 150 Gold. On early South Beach stages that spend can leave you with very little leftover Gold, so preview his range and commit only to a high-coverage tile.
What is Red’s role in Angry Birds Tower Defense?
Red is the single-target DPS starter tower. He focuses individual pigs along the path and teaches new players range and economy discipline before pierce, splash, boss, and support birds unlock.
Where should I place Red?
Beside a long stretch of the pig path marked by green arrows, where his attack range covers enemies for as long as possible. Avoid short cuts of track that barely clip his circle.
Does Red work well with Stella?
Yes. Stella’s knockback and support stall pigs inside Red’s range, increasing his effective DPS. Pair them near bends where pigs would otherwise sprint out of focus fire.
Should I replace Red after unlocking Terence?
Not entirely. Terence is the heavy boss breaker; Red still clears escorts and early waves efficiently. Use both roles rather than swapping all single-target coverage for boss damage alone.